Español
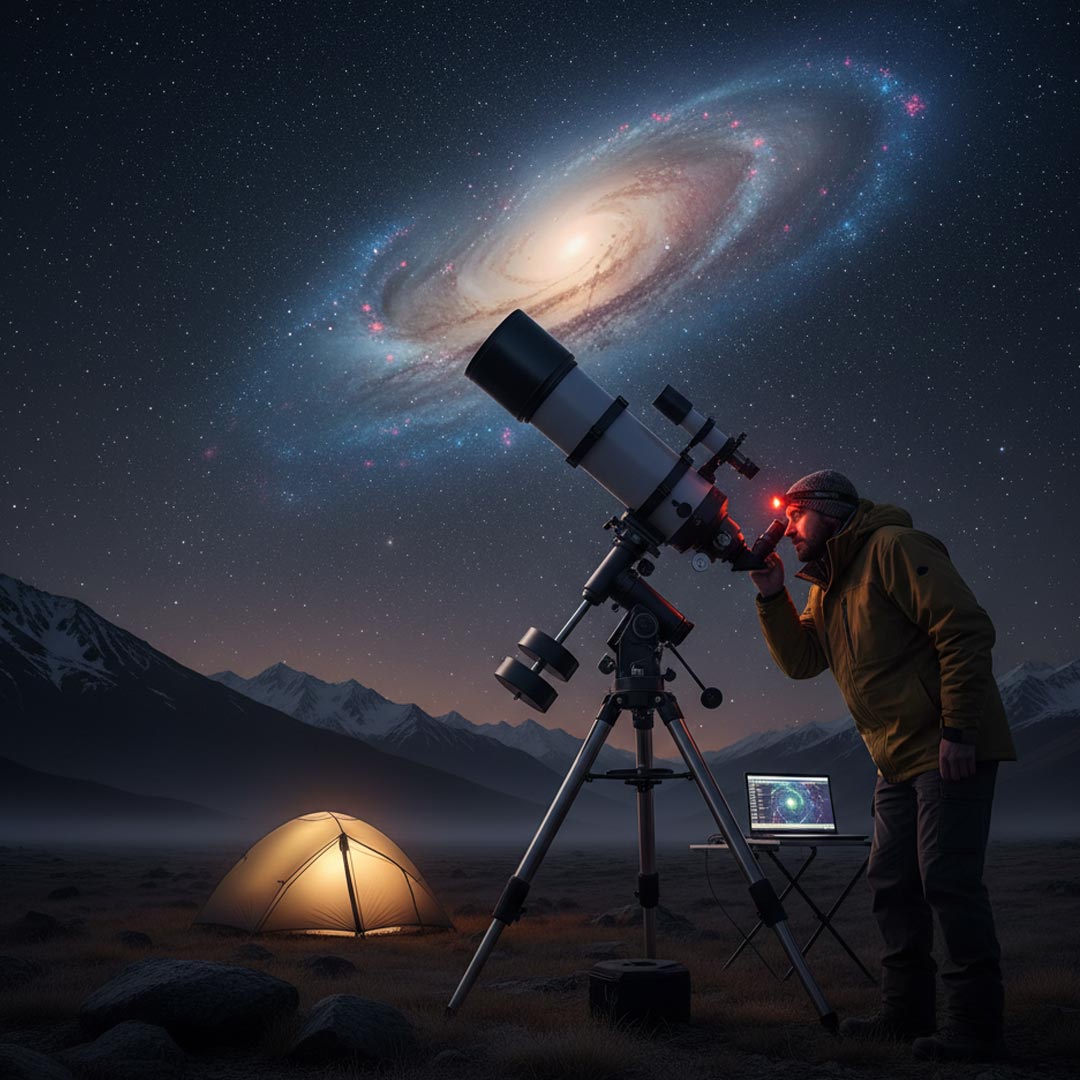
How to choose your first telescope: A beginner’s guide
Welcome to the fascinating world of astronomy! Choosing your first telescope can be exciting, but also overwhelming due to the wide variety of options available. This guide will help you make an informed decision so you can enjoy astronomy to the fullest.
1. Define your objectives: What do you want to observe?
Before spending a single euro, the most important question you should ask yourself is:
What am I excited to explore in the universe? Your answer will determine the perfect telescope for you.
Here are the most common options and how they influence your choice:
Planets and Moon: If you imagine admiring the craters of the Moon, the rings of Saturn, or the equatorial bands of Jupiter, you need a telescope that offers sharp images and good contrast. Prioritize resolution (the ability to show fine details) over excessive magnification. For example, a long-focal telescope like a refractor will be your best option.
Deep sky (galaxies, nebulae, clusters): Dreaming of the Orion Nebula (M42) or the Pleiades star cluster? These objects are fainter and more distant, so you need a telescope with a large aperture (100 mm or more) to capture as much light as possible. For example, a 130 mm reflector will be your best ally for observing the most diffuse objects in the universe.
A bit of everything: If you are a beginner and want to explore both the Solar System and the brightest deep-sky objects, perhaps the most viable option in terms of price and versatility is a Newtonian reflector telescope on a Dobsonian mount, a 6″ or 8″ one, it would be your best ally.
2. Forget the magnification: The aperture is more important
When you’re looking for your first telescope, it’s easy to fall into the trap of ads that scream “600x magnification!” as if that were the most important thing. Stop! A telescope’s true superpower isn’t how much “zoom” it has, but how much light it can collect.
This is called the aperture, and it’s the diameter of the main lens (in refractors) or the main mirror (in reflectors), measured in millimeters or inches.
So why is the aperture more important? Basically, more light = more detail.
A telescope with a larger aperture collects more photons (light particles), allowing you to see fainter objects, like distant galaxies or nebulas, with greater clarity and detail. Think of the aperture as the size of a window: the larger it is, the more light it lets in and the more of the universe you see.
On the other hand, just because a telescope supports a certain magnification doesn’t mean you can always use it. This depends on external factors, primarily the brightness of the object you want to observe and the atmospheric conditions at the time.
The ideal is to find that optimal magnification that allows you to see good details without sacrificing image quality.
3. Know the types of telescopes
There are three main types of telescopes, each with its own strengths and weaknesses. What you should understand from the outset is that the perfect telescope doesn’t exist. This doesn’t mean you can’t use a refractor to observe deep-sky objects or a reflector for planets, you can observe everything with either type, but each type is better suited to specific uses.
a) Refractors:
How they work: They use lenses to focus light, like a giant magnifying glass.
What they do: They’re excellent for viewing the Moon, planets, and bright stars. They produce very sharp, high-contrast images.
Advantages: Easy to use, low maintenance, and ideal for beginners.
Disadvantages: As they increase in aperture, they become more expensive. They’re not the best for faint objects like galaxies or nebulae.
Some examples between 150 € and 500 €:
b) Reflectors:
How they work: They use mirrors to collect and focus light.
What they do: They are ideal for viewing deep-sky objects (galaxies, nebulae, clusters) because they collect a lot of light.
Advantages: They offer a lot of power for less money (better cost-aperture ratio). Perfect for those who want to explore the deep universe.
Disadvantages: They require occasional maintenance (aligning the mirrors, a process called collimation). Additionally, they can be bulkier and less portable.
Some examples between 200 € and 500 €:
c) Cassegrain (Catadioptric):
How they work: They combine lenses and mirrors to create a compact design.
What they’re used for: They’re versatile, good for both planetary and deep-sky observations.
Advantages: Compact and easy to transport. Many models come with computerized (GoTo) systems that find objects for you.
Disadvantages: They’re usually more expensive than similarly sized reflectors and require some technical training.
Some examples between 400 € and 1000 €:
4. Choose a stable mount
Imagine you have the Moon perfectly focused in your telescope, but suddenly… it moves and disappears from the eyepiece! This happens because the Earth rotates, making celestial objects appear to move across the sky.
This is where the mount, the support that holds your telescope, comes into play. A good mount keeps the image stable, without shaking, and helps you track objects in the sky without frustration.
Why do you need a mount that works well?
Stability: A solid mount prevents the telescope from vibrating, especially if there’s wind or you touch the equipment.
Smooth Tracking: As the Earth rotates, objects like the Moon or stars slowly move out of your field of view. A good mount allows you to adjust the telescope to track them without losing them.
For example, if you center the Moon in your telescope, it will slip out of the frame within a few minutes. With a quality mount, you can move the telescope smoothly to keep it in view.
Mount Types: Which One Is Best for You? There are two main types of mounts, and each has its own style:
a) Altazimuth Mount:
How it works: It moves like a camera tripod, i.e., up/down (altitude) and left/right (azimuth).
Advantages: It’s super intuitive, ideal for beginners. These are the ones used if you want to use it as a spotting scope. Just point and go!
How you track the object: You’ll need to manually adjust in both directions (up/down and left/right) to track the movement of the sky.
Example: Perfect for quick observations or if you’re just starting out.
b) Equatorial mount:
How it works: It’s designed to align with the Earth’s rotational axis, which simplifies tracking.
Advantages: Once aligned (which takes some practice), you only need to move it in one direction (left/right) to track an object. The mount automatically compensates for up/down movement.
How you track the object: You adjust only one axis, which makes tracking more comfortable over the long term.
Example: Ideal if you plan long observations or want to delve deeper into astronomy. If you get a good base mount, you could computerize it to facilitate your observations, as well as for use in astrophotography sessions.
There’s also a third option, the Dobsonian mount: It’s robust for large reflectors, offers the maximum aperture at the best price, and is a favorite among visual deep-sky observers.
A quality mount is like a good adventure companion: it keeps everything stable and helps you keep track of what you’re observing. If you’re a beginner, an altazimuth mount is easier to use. If you want something more advanced and don’t mind practicing, an equatorial mount will make stargazing very easy.
5. Essential accessories to enhance your experience
A telescope doesn’t come ready for everything. Some accessories will make a difference in the quality and ease of your observations:
Eyepieces: Changing the eyepiece is like changing the zoom on your telescope. A 40mm eyepiece gives you a wider field of view; a 10mm eyepiece gives you a narrower field of view but increases detail, useful for planets and the Moon. Having a variety of eyepieces with different focal lengths will give you much more flexibility.
Moon Filter: For some people, the brightness of the Moon can be bothersome; a moon filter reduces the brightness and allows you to better enjoy its details.
Finderscope: A small viewfinder (optical or red dot) that helps you aim the telescope. Make sure your telescope includes one.
Apps: Download Stellarium (free) or StarWalk; they will be very helpful in planning your observations and learning about the sky.
6. Realistic Expectations
The universe isn’t a wallpaper, so don’t expect to see galaxies like those in Hubble photos.
Visual astronomy is a unique experience: planets will appear small but distinct, and nebulae will be subtle but magical. With practice, you’ll learn to distinguish details and enjoy every observation. For example, seeing Saturn’s rings for the first time is something you’ll never forget.
Choosing your first telescope is just the beginning of an incredible adventure. Imagine pointing at the sky, focusing on Jupiter, and seeing its moons as tiny bright dots, or discovering the Ring Nebula (M57) as a delicate smoke ring.
With the right telescope, patience, and a little practice, the universe will be within your reach. Go outside tonight, look up at the sky, and be amazed!